 SEARCH
 FIND A DEALER

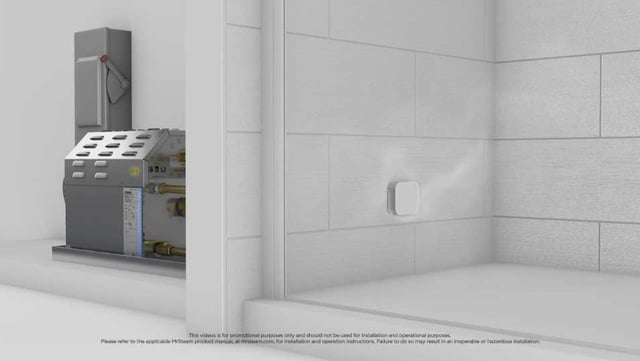
If you're planning a home steam shower and are interested in learning what's involved, you'll find this MrSteam 3-minute video which describes how to install a steam generator worth watching. It's of particular value to steam shower professionals so feel free to share it with your licensed plumber/electrician.

Seven Steps for Installing a Steam Shower Generator
This MrSteam Feel Good Inc. video about How to install a steam generator visually demonstrates best practices and the steps to follow for successfully installing a steam generator. The notes below supplement the video. Do feel free to make your own notes as you watch.
And be sure to visit and download the MrSteam Technical Downloads from mrsteam.com. These will help you become familiar with the technical installation specifications for your MrSteam home steam shower generator.
A few special reminders before watching the How to install a steam generator video and embarking on your installation:
- Confirm if the voltage matches the generator (280v or 240v). 240v is standard in single family households.
- Make sure all plumbing and electrical wiring is performed by a qualified licensed plumber and electrician in accordance with applicable national and local codes.
- Disconnect the power at the breaker before installation.
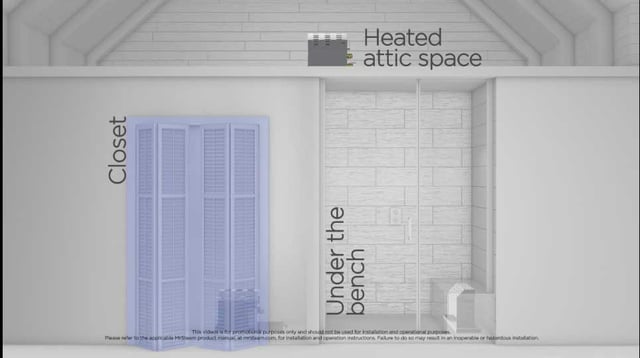
Where to install the steam shower generator?
The steam shower generator can be installed in different places, such as:
- In a heated attic
- In a closet
- In a vanity
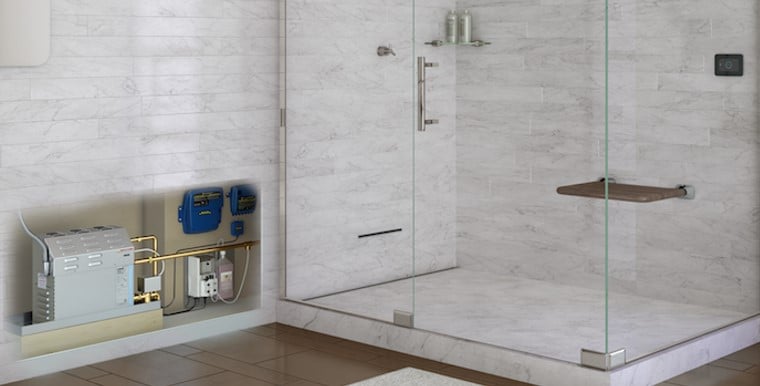
- In the space under your steam shower bench (situating the access panel outside of the shower)
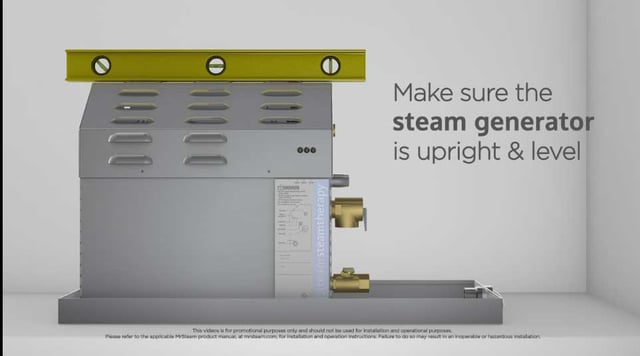
Step 1: Installation of the steam shower generator
Make sure the steam generator is upright and level.
Step 2: Installation of the water feed
Use copper or brass only for the water feed (no pex (cross-linked polyethylene) or PVC).

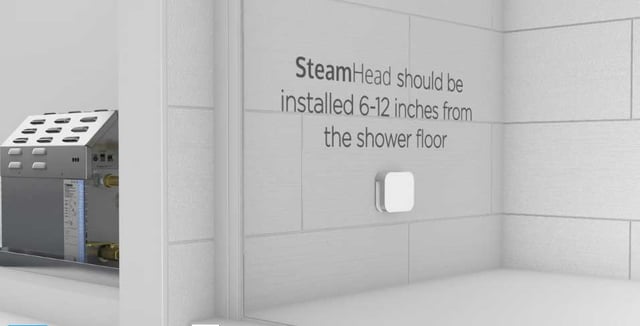
Step 3: Connect the steam line
The steamhead should be installed 6-12 inches from the shower floor.
Step 4: Installation of the drain line
Pitch as required for a gravity drain.
1-inch gap indirect drain system (check your local plumbing codes for other options).
Check the national and local plumbing codes for pressure relief valve, receptor, trap and vent requirements.
Step 5: Electrical installation for the steam generator
Use a minimum 90 degrees Celsius / 300v rated insulated copper conductor only (sized per NEC and local codes). Size in accordance with the amperage rating of the steam generator.
Install a separate circuit breaker between the power supply and the steam generator unit. Provide a power supply disconnect within sight of the steam generator or one that can be locked in the open position.
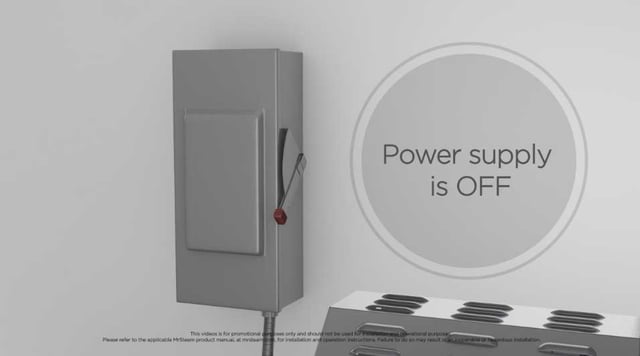
Make sure that the power supply is off!
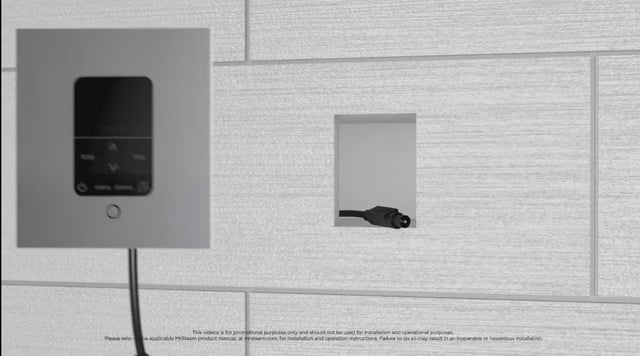
Step 6: Installation of iTempo Control Plus
Create a rectangular cut out which measures 2 5/6 in. x 3 7/8 in.
The iTempo control should be installed 4-5 feet from the floor near the seating area. Do not install it above the steamhead!
Make sure a control cable is installed in a non metallic 3/4" conduit for protection and easy access.
Turn the water on.
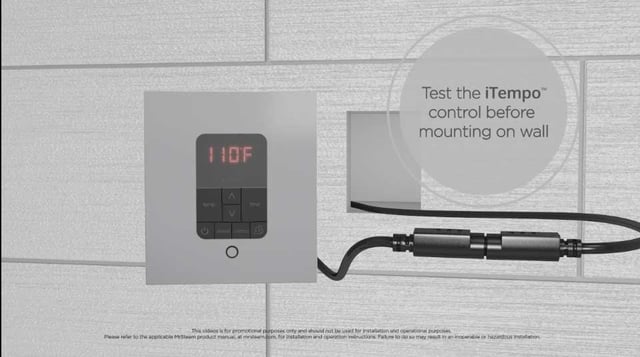
At the appropriate time, turn the power supply on to test the iTempo control before mounting it permanently on the wall.
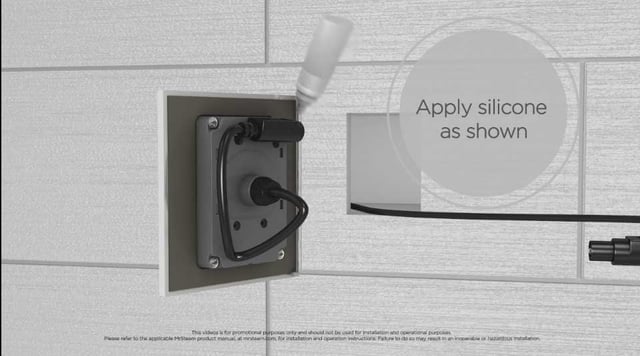
Turn the power supply off while completing the full and permanent installation. Add silicone as shown.
Step 7: Test the steam generator installation
This is the moment we've all been waiting for!
Turn the power supply back on. Then, turn iTempo Plus on... and the steam will begin to flow while you begin to relax!
Congratulations, you are now the proud owner of a spa steam shower to enjoy every day!
Watch How to Install a Steam Generator
You can watch the 3:23 minute video on Vimeo by clicking on How to install Steam Generator, or watch it below.
MrSteam: How to install Steam Generator from Mr.Steam on Vimeo.
Note: This video is for promotional purposes only. For complete installation and operation information, please refer to the MrSteam residential steam bath Installation and Operation Manual provided with the product and available at mrsteam.com. Failure to follow instructions in the manual may result in an inoperable or hazardous installation. The diagrams are for illustrative purposes only.
Now that you've read the notes and watched the MrSteam How to Install a Steam Generator video, what questions do you or your licensed professionals have for us at MrSteam?
Additional Steam Shower Generator Installation Resources
You'll discover valuable insight in the comments and questions that readers like you have already left for this article.
You may also find these additional resources helpful:
>> How to Size a Steam Shower Generator? Try Our Virtual Spa System
>> Top 3 Maintenance Tips for Your Steam Generator
>> Why Bother with Steam Shower AutoFlush Technology?

Note: This article was originally published on September 25, 2013 and has been updated.


