 SEARCH
 FIND A DEALER

If you've realized that your new steam room design won't be complete without a steam generator from Mr.Steam, you'll appreciate this visual guide to installing a steam shower generator along with either the iTempo or the iSteam Control.
For each control, we created a 3:22 minute video overview for installing steam generators. Since the general process is similar, we've summarized the steps in this article.
>> You can access the video relevant to your specific control by clicking on How To Install a Steam Generator with iTempo or How To Install a Steam Generator with iSteam Control.
Please note that these instructions are not meant to replace the product’s Installation and Operation Manual. Rather, they are designed to give you the information you need to discuss the installation with your contractor or steam shower professional.
A Visual Guide for Installing a Steam Shower Generator
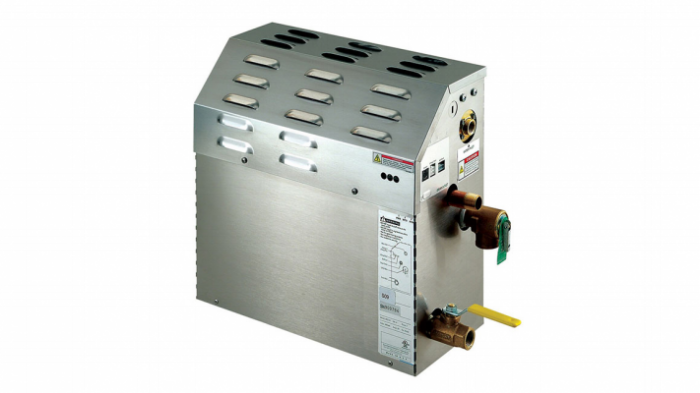
1. Position the steam shower generator:

The licensed electrician can position the steam generator in a variety of places, including in the space under your steam shower bench (with access panel outside of shower), in a heated attic, or in a closet or vanity.
Keep in mind that the generator is about the size of a briefcase and can be positioned up to 60 feet away from the steam shower, or even located on another floor altogether.

2. Install the water feed:
The licensed plumber should only use copper or brass piping for the water feed. PEX or PVC piping is inappropriate for this installation. Also remember that Mr. Steam generators use no more than two gallons of water for a 20-minute steam shower, making them the eco-conscious luxury bathing option.

3. Connect the steam Line:
The plumber then connects the generator to the steamhead. Situated six to 12 inches above the shower floor, these high-grade steamheads remain “cool-to-the-touch” throughout the steam session.
Optional AromaSteam™ steamheads hold essential oils to infuse aromatherapy into the steam room. For example, eucalyptus may help open air passageways and lavender may help soothe anxiety with its calming and restorative properties.

4. Install the drain line:
Finally, the plumber adds the gravity drain line and other state/local plumbing code requirements.
 5. Electrical Installation:
The electrician then brings power and a separate circuit breaker to the generator in accordance with local codes. The generator’s exclusive microprocessor operating platform easily accommodates a full range of custom options, from the most basic installation to the most elaborate. The simple plug-and-play generator design makes it easy to install spa features such as ChromaSteam light systems, AromaSteam and MusicTherapy.
>> See How To Connect the AromaSteam System to Your Steam Shower Generator.

6. Install the iTempo/iSteam control panel:
Next, the steam shower iTempo or iSteam control panel is installed so that you can easily program your steam shower experience.
>> See Stylish Controls for Your Home Steam Spa with iTempo from Mr.Steam.
>> See How to Customize the iSteam Control For Your Home Steam Shower.
A cutout in the steam room is placed four to five feet from the floor near the seating area to install the control panel.

7. Mount the iTempo/iSteam control panel:
Before mounting the iTempo or iSteam panel to the wall, installers should make certain that water and power are operating correctly. Apply silicone to the panel and mount.
8. Test the Installation:
The final step is to double check that the system is working properly. Make sure you know how to operate your new steam system and that you have received the related manuals and warranty information.
Be sure to let us know if you have any questions about installing your steam shower generator with either iTempo or iSteam.


